
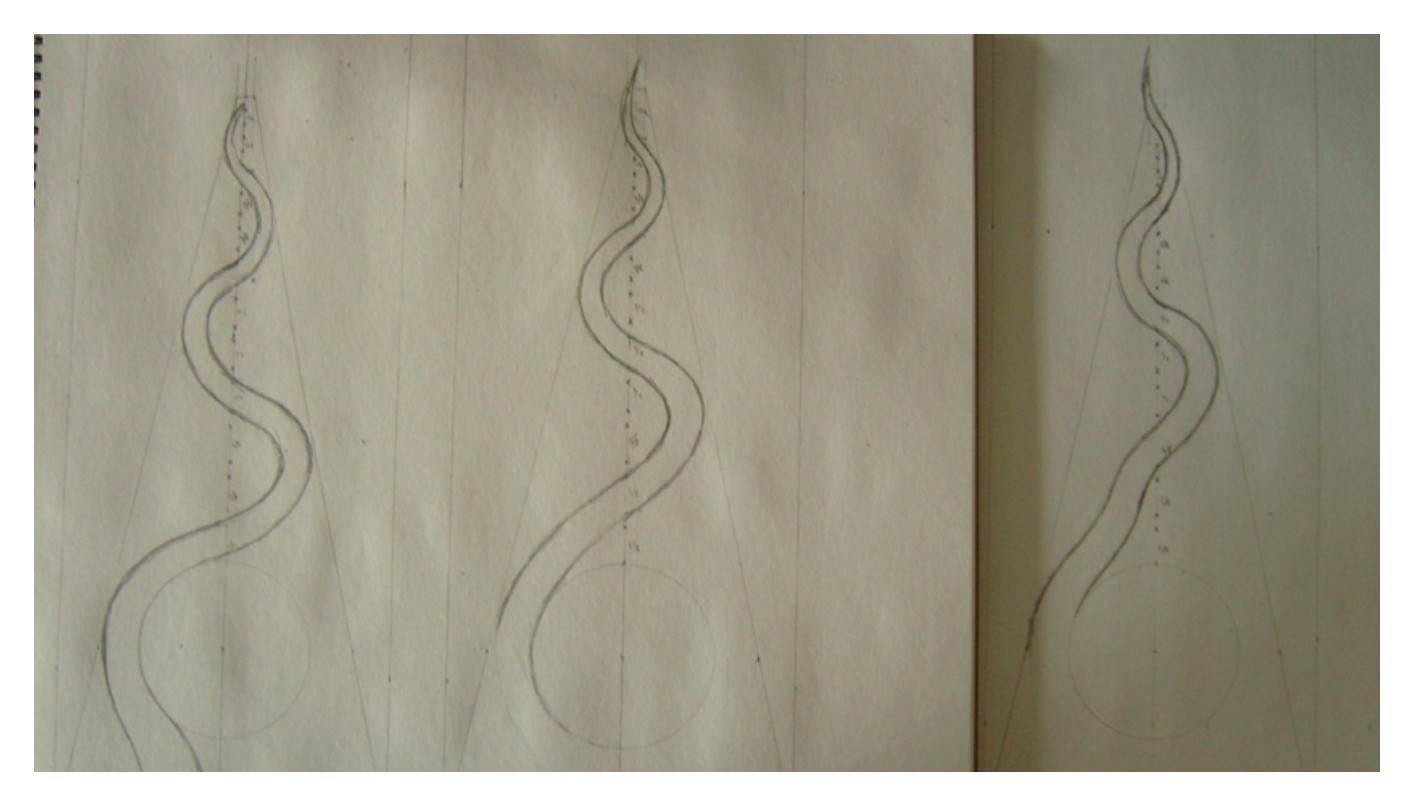
The first step to this project was to figure out the template of each of the vertical pieces. Each one crosses the center line multiple times, and by plotting them on paper first, I was able to make sure each did so at different points in a 1,2,3,1,2,3 sequence. Once I had each piece plotted, I cut them out of aluminum so that I could accurately reproduce each piece for the run of the limited edition.
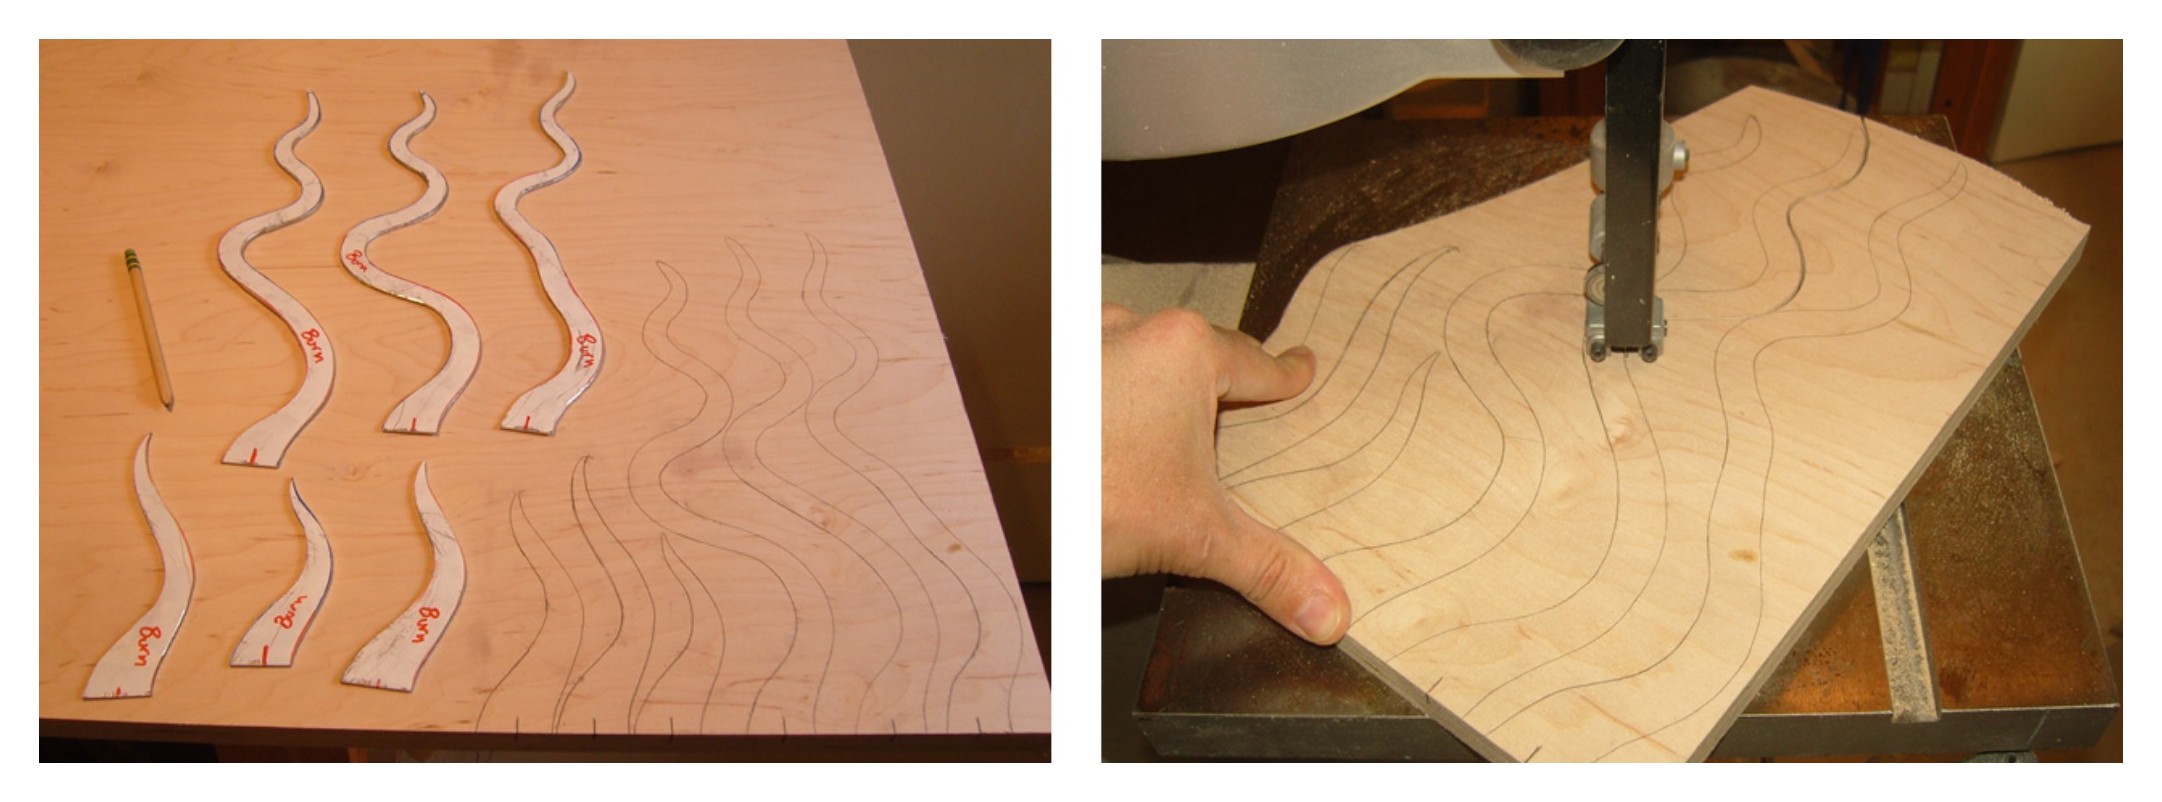
With all six pieces plotted and cut out of aluminum, I use the templates to draw the shapes on solid maple hardwood ply. Note the marks at the bottom of each piece. These tell me where I need to drill my pilot holes for the screws that hold them to the base. Next I cut each piece out with a bandsaw.

After cleaning up the cut edges with a spindle sander, I drill the pilot holes. If I wait to do this until later, it becomes difficult to drill at the correct angle. I put together this jig to make sure each hole is perpendicular to the bottom of the wood.

Using a sander I taper each piece so that they come to a point at the tip.
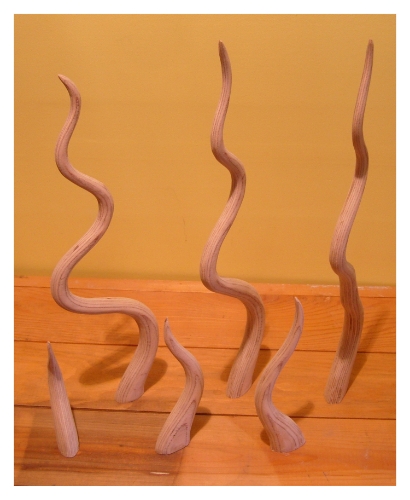
Next I round each piece. First I cut the bulk away with a Dremel and then sand with a spindle sander to smooth each piece out. The layers of wood in the ply are very helpful at this stage because the lines at the edge of each one change as more is cut away. This gives me a good idea of when to stop and whether or not the taper is smooth and constant.

The next stage is a slow process of fine tuning. Ultimately all three pieces have to sit evenly on the base, oriented at 120° from the piece on either side. If any piece is too thick at any point, it will stop another piece from sitting where it needs to. Working with two pieces at a time, I mark where they hit each other and using a spindle sander grind away a little in that spot. I retest and repeat until the two pieces work with each other. This has to be done with the three possible pairs after which all three pieces should intertwine and sit squarely on a flat surface.

Now that the three pieces fit together properly, I have to adjust them so that the glass ball nests snugly in the middle. I don’t use the ball that will be in the finished piece in case any damage is done to the glass. With two pieces securely attached I can pull the third back enough to insert the ball and mark any points that need to be sanded down so that the third piece will once again sit squarely on the base.
Once the ball is firmly in place, the three smaller pieces can be adjusted so that they sit flat on the base and fit snugly around the ball as well. The footprint of each also needs to be adjusted at this point so that they fit correctly between the pieces already attached.

With all six pieces fitting as they need to be, I give them one last sanding with 220 grit paper using a detail sander. I am very careful not to take off too much, particularly where the ball sits as I want it to remain a tight fit. Once that is done it is time to apply some polyurethane. As with all my projects, this is one of my favorite steps because it is when the colors and the grains really come to life.

To make the base I use a rapid set cement with black tint for color. First I spray mold release into the mold, them mix the cement and pour it in. I like to use a clean brush to essentially paint the first little bit of cement around the surface of the mold as I find it helps to eliminate pockets caused by air bubbles. Being a rapid set cement, it gets quite hot as it sets which tends to dry out the exposed surface. It is important to spray water on it as needed so that it stays wet to prevent cracks from forming.

Before the cement becomes really hard (about 45 minutes to an hour after mixing), I drill six holes for the screws to pass through using a template for accuracy. Then I use a countersink on the underside so the screw heads sit slightly below flush when everything is put together. Once the cement has cured I apply several layers of cement sealer which gives the base a nice glossy shine.

Once everything is ready to go, I very carefully put it all together.

Once I’m sure that everything is where it needs to be and the screws are good and tight, I fill the screw heads with a two part epoxy resin so that the underside is flush. This gives me a smooth surface to apply the label and felt.
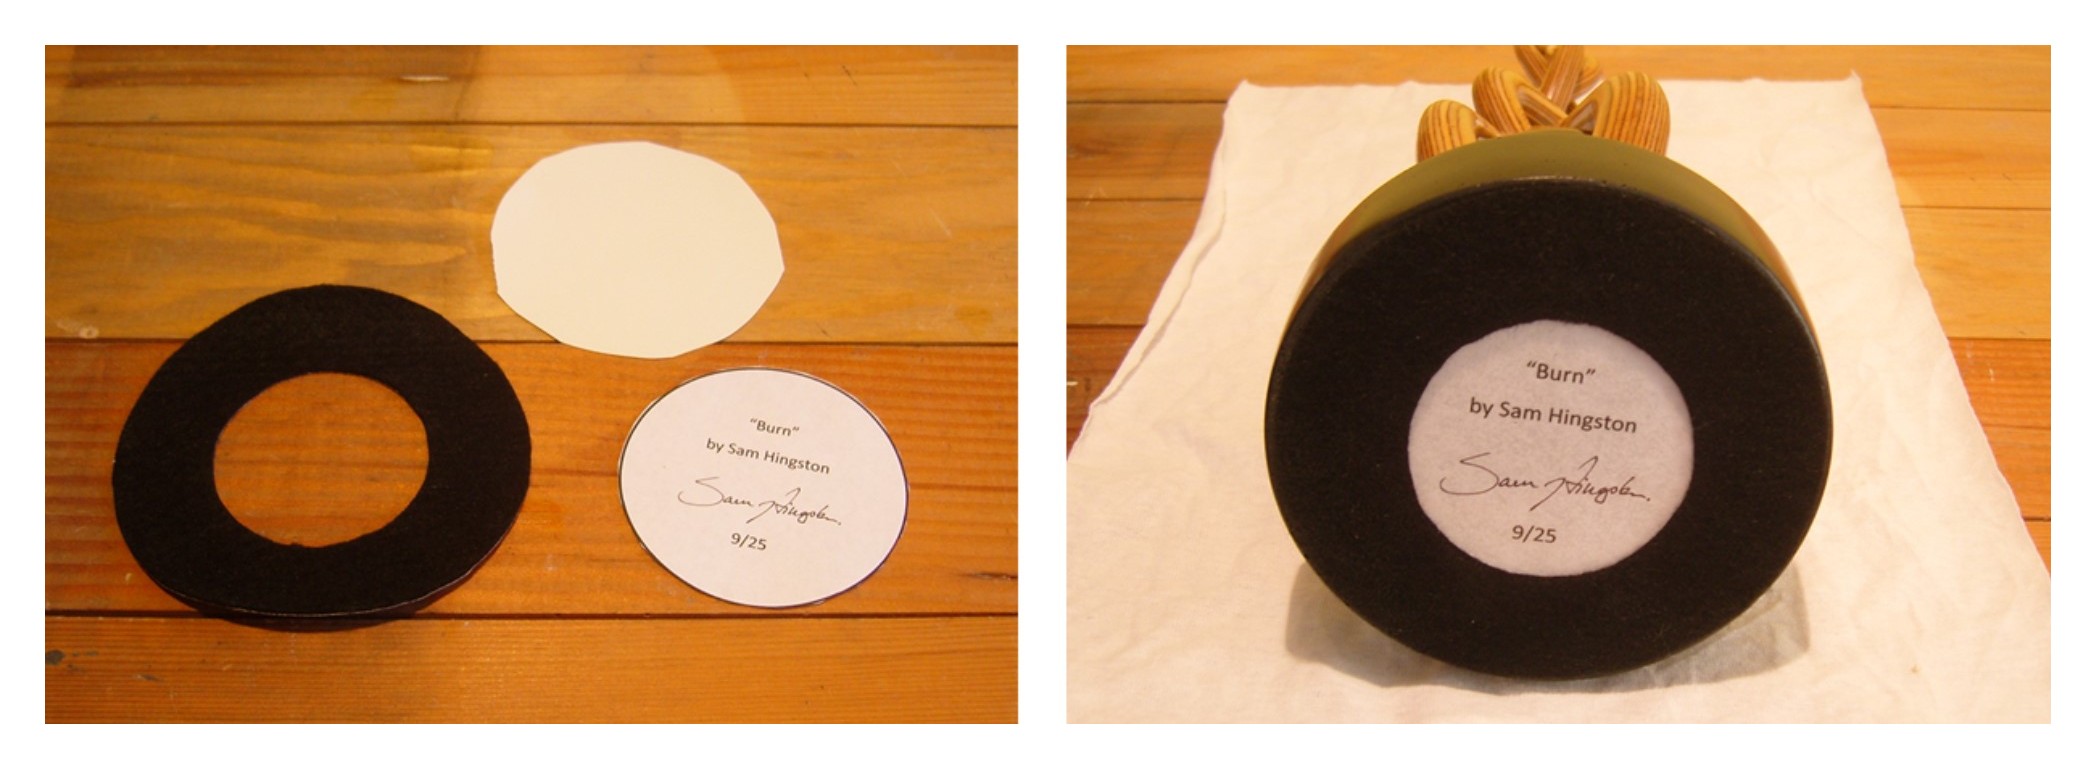
The last step is to glue a signed label to the underside of the base, laminate it and then attach an adhesive backed felt ring over the top.

Burn
4.5″ W x 4.5″ D x 14.5″ H
Limited edition of 25.